

This week, 4th will be starting their background for the Collagraph printmaking project! This was inspired by the fabulous @Mrsdow_Artroom! Give her a follow on Instagram!
After they finish their background, they'll start gluing the foam shapes onto their square printing plate.
Videos and how to below!
Materials:
Speedball ink
Brayer
90 lb paper
Wonderfoam shapes
school smart fluorescent paint
Big Kid's Choice paintbrushes
Elmer's Glue-all
Videos and how to below!
Materials:
Speedball ink
Brayer
90 lb paper
Wonderfoam shapes
school smart fluorescent paint
Big Kid's Choice paintbrushes
Elmer's Glue-all
 |
| This background was done with School Smart Washable Fluorescent Paint |
Here's a short time lapse video on how to paint your background!
 |
These backgrounds were done with Sax Liquid Watercolors (SIDE NOTE: REGULAR FOAM DOESN'T WORK FOR THIS PROJECT! IT FALLS OFF!) |
Like this one!

Here's a little time lapse of me creating another printing plate
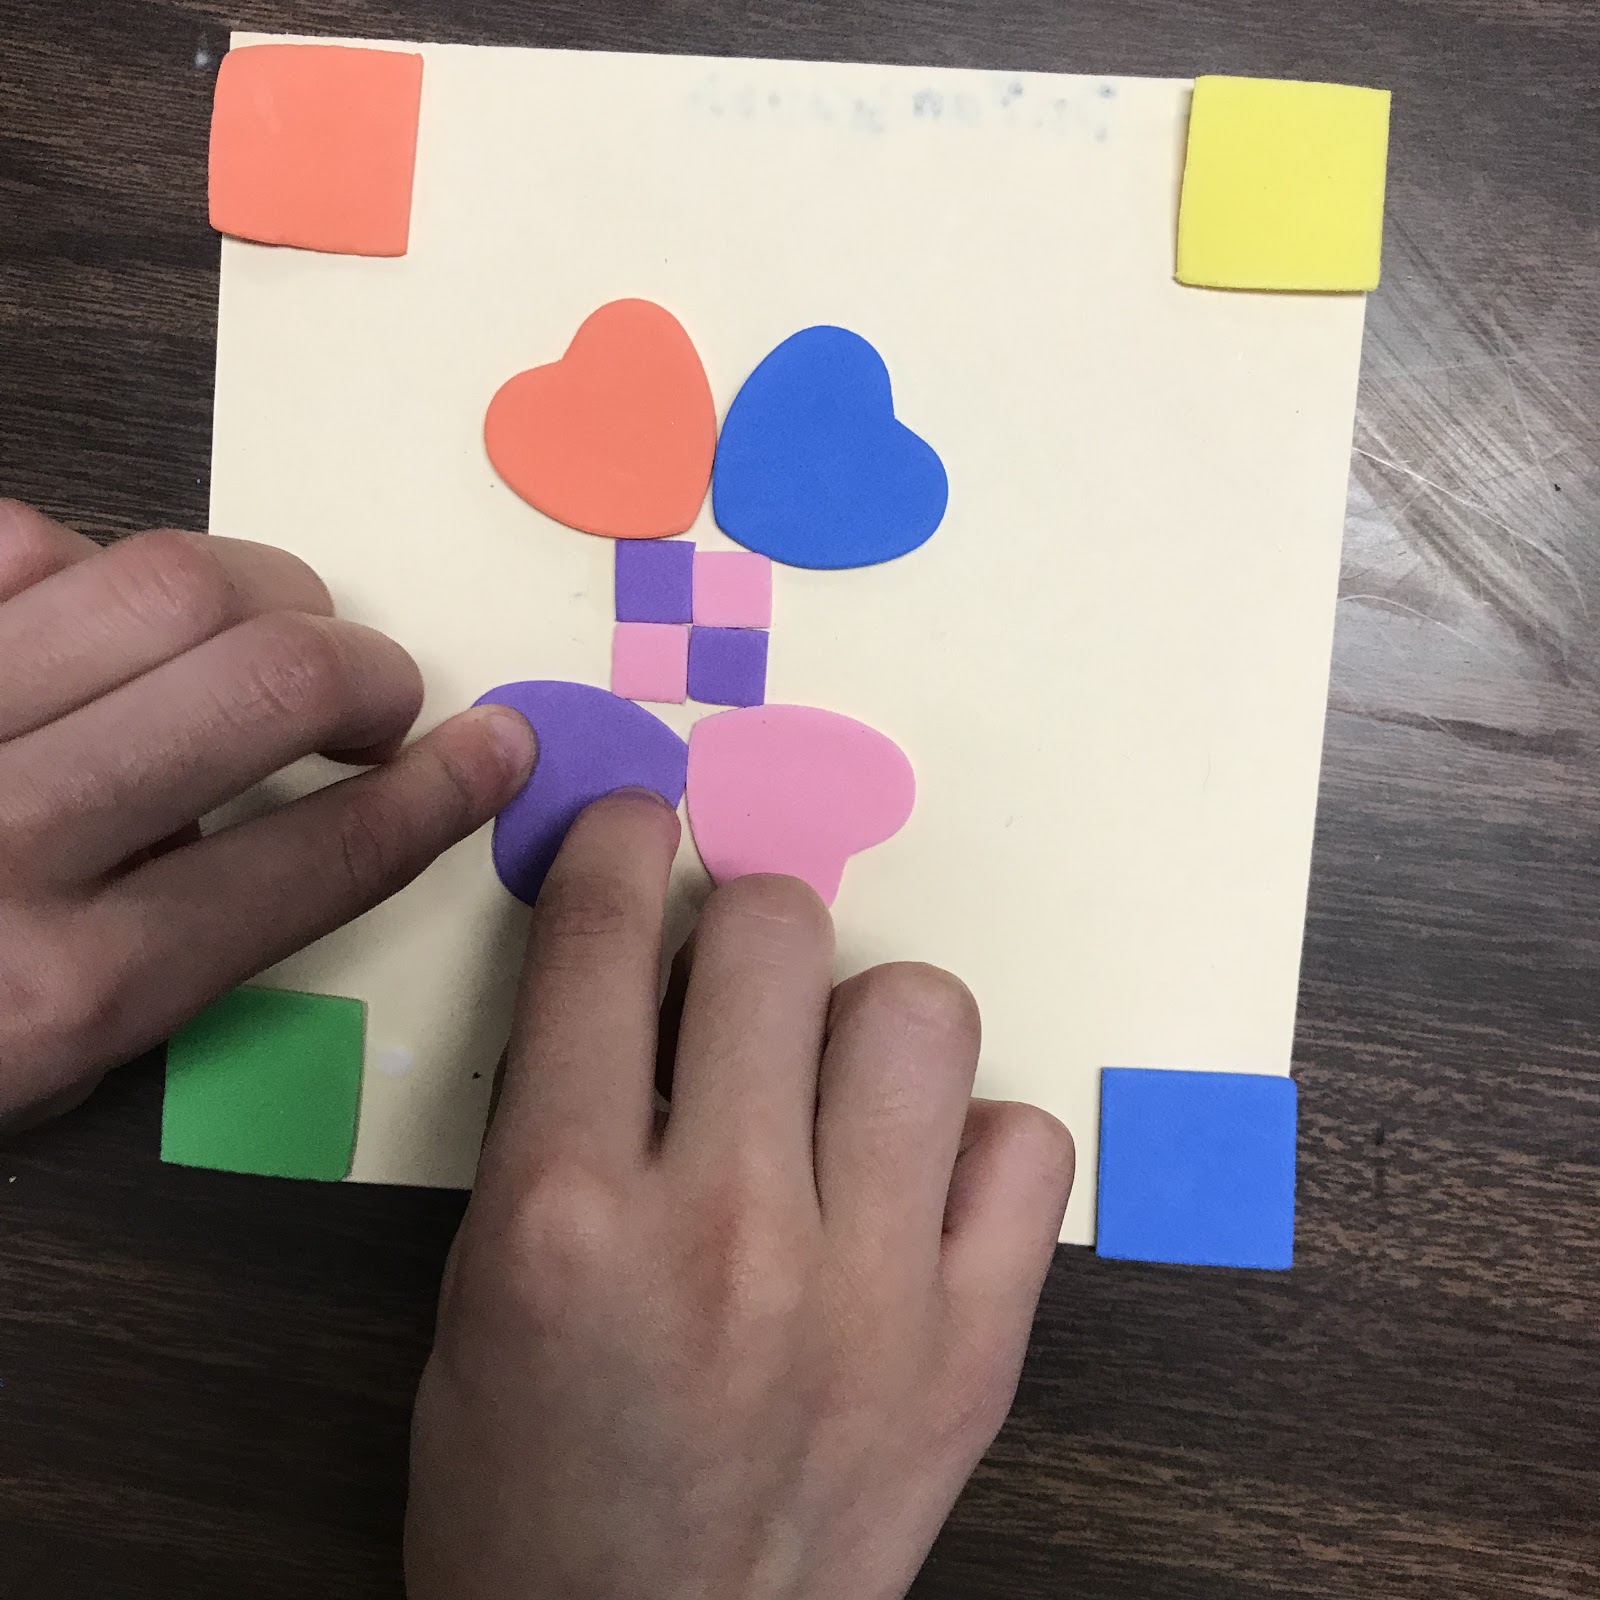
MAKE SURE YOU USE A DIFFERENT KIND OF FOAM, LIKE THESE WONDERFOAM SHAPES!!

or these Darice sticky foam sheets would work well too! & no glue needed!

Here's a time lapse of me gluing the shapes on. Start in one corner and work your way out, making sure both sides match, or are symmetrical!

Then, you're ready to ink up and start printing! Make sure you keep your corner design in the middle of your paper as you're rotating! Make a mark on the corner that you want to put in the middle, so you can see it when you're printing!


Here's Dr Fambrough's class doing a great job!


Here are some awesome artists from Mrs. McAllister's class!! I was literally shrieking for joy at the way these turned out! Mrs. Stacey is so proud of y'all!!! <3


Here are some prints from Mrs. Fambrough's class!


No comments:
Post a Comment