Hi, and welcome to our art room! This site is dedicated to the awesome elementary artists I teach, and is a little window into our world of art. Hope you enjoy!
Tuesday, January 28, 2025
5th grade Ring Pops
Thursday, February 25, 2021
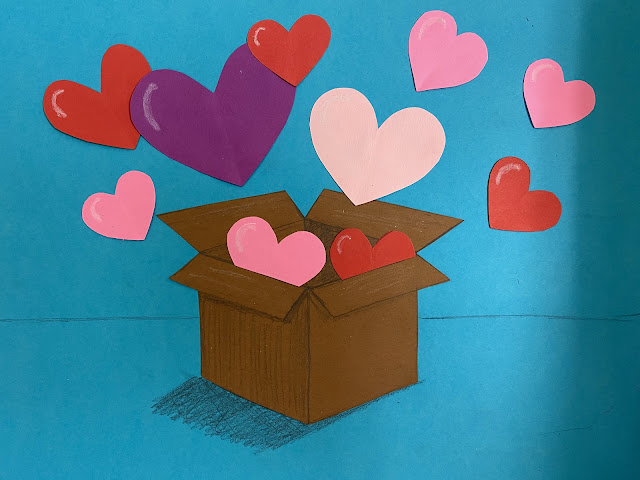
How to draw 3-D looking boxes with a surprise inside!
Happy Valentine's Day, everyone! Sorry, I'm late in posting this lesson, but we had a very unexpected "snow week" last week, right after Valentine's Day. My little boy was born 4 years ago, on that day, so we spent the day celebrating him! Here's how we celebrated at school! After we made our Chris Uphues 3-5th mural, we went on to try Tabitha Seaton's box with hearts lesson! 4th and 5th did a great job drawing their boxes with me, because of her neat instructions on how to do so. I made a video for my 3rd grade virtual students showing them how to make it as well. You can watch that below!
For this project we used:
Tru-Ray construction paper
Sax 90lb paper
Pencils
black Sharpie markers
Scissors & Glue sticks
Friday, October 7, 2016
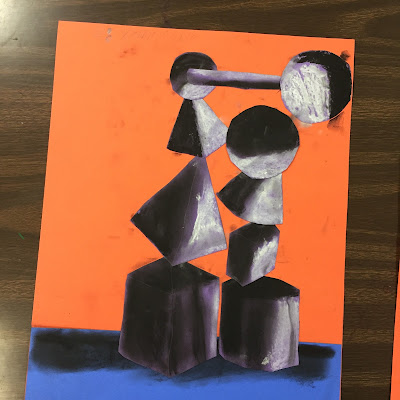
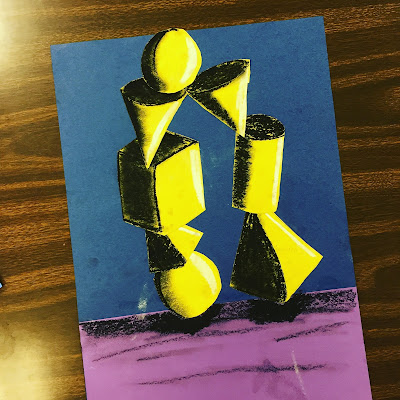
4th grade shaded forms
4th Grade Shaded Forms
(this project was inspired by an awesome image i found on Marnie Hyland's blog! Check out their awesome art!) Day 1: I demonstrated how to do the project. (I project all of my lessons on a giant screen, so everyone can see.) We talked about value and how to make a basic shape look 3-d. We talked about light sources, and shadows, and I demonstrated how to shade and add highlights to their shapes with chalk pastels. We used chalk for the black and oil pastels for the white. After my demo was over, the students chose their colors for their papers, we passed out the shape tracers, and the students got to work!
Day 2: The students continued to add value to their shapes, and assembled their backgrounds. The background consists of one piece of 12 x 18" construction paper, and one piece of 4.5 x 12". After they finished shading and adding highlights, the cut out the pieces and assembled them to their background. After they glued on their "sculpture" they were supposed to shade the "table" underneath the shapes. (This project took at least 3 45 minute classes to complete.)


