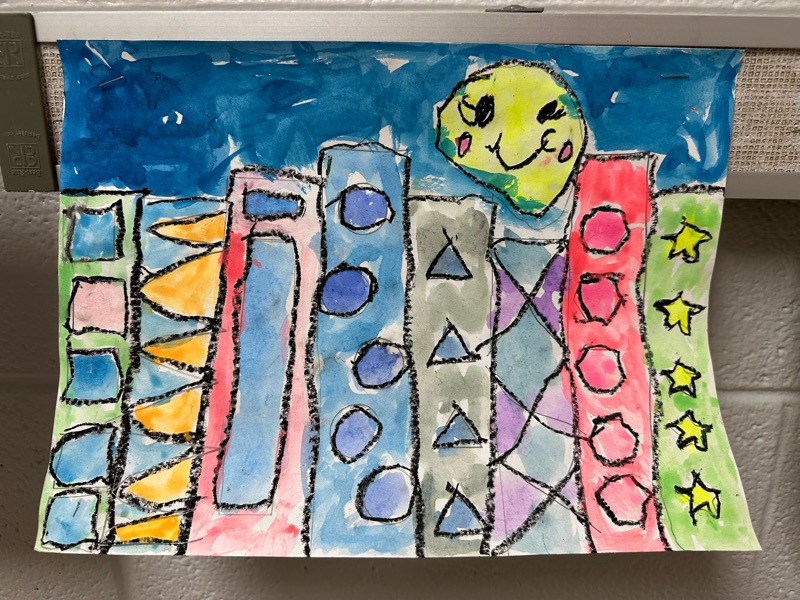
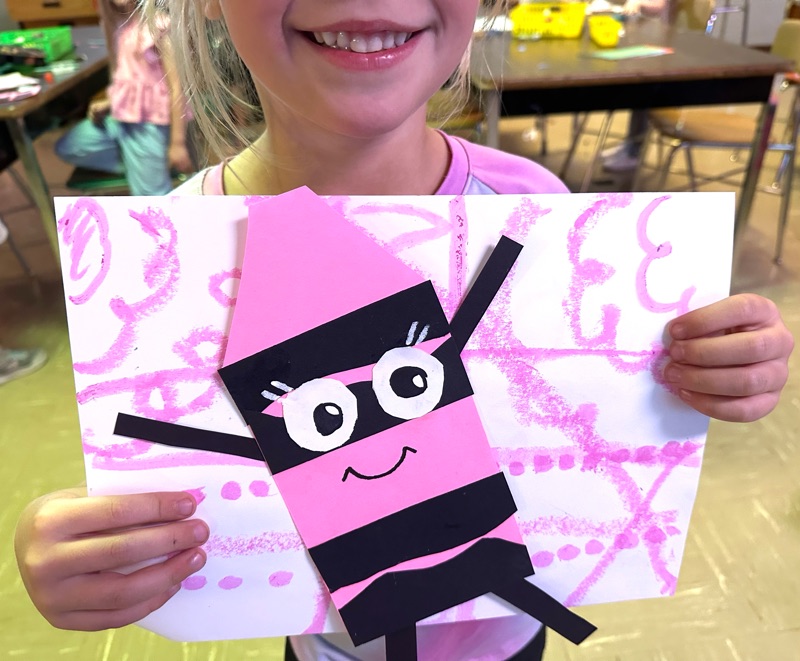
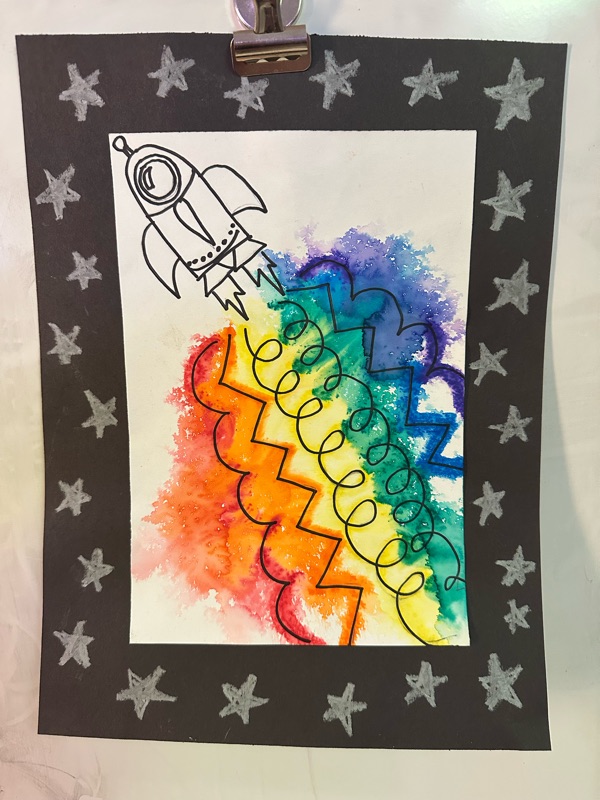
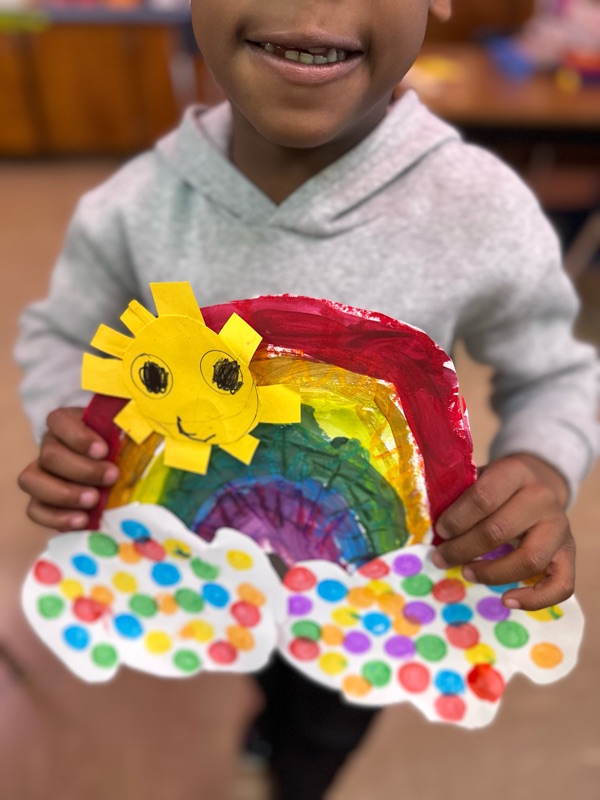
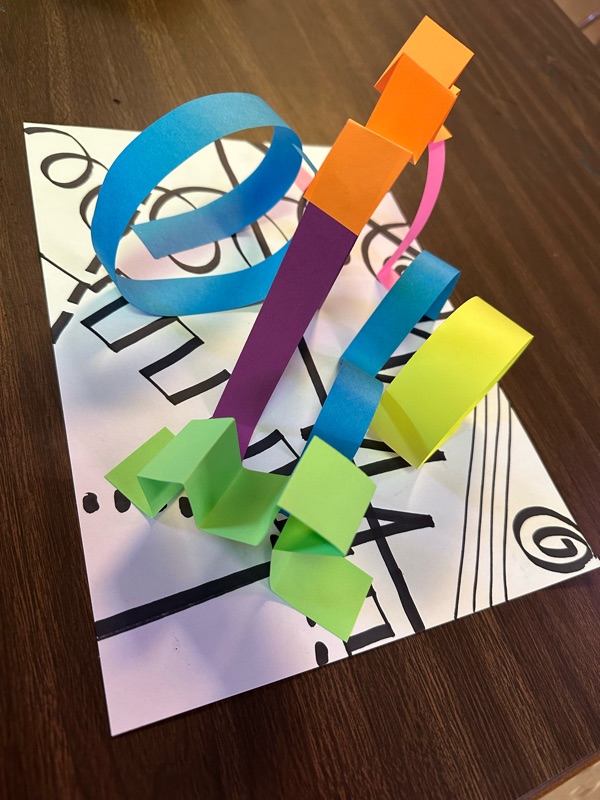
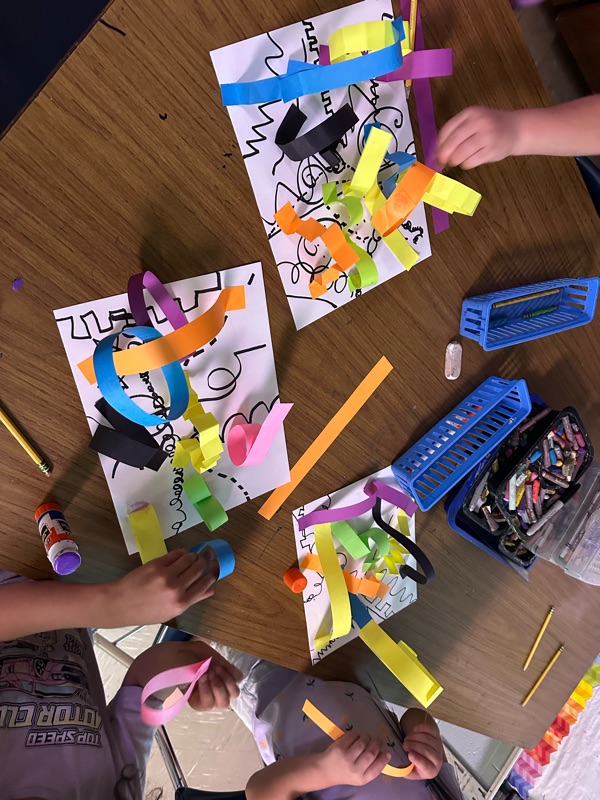
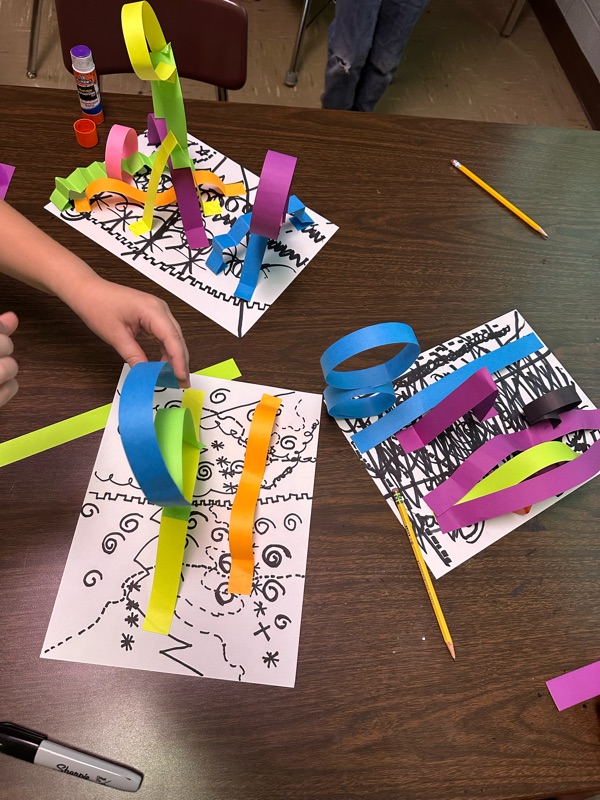
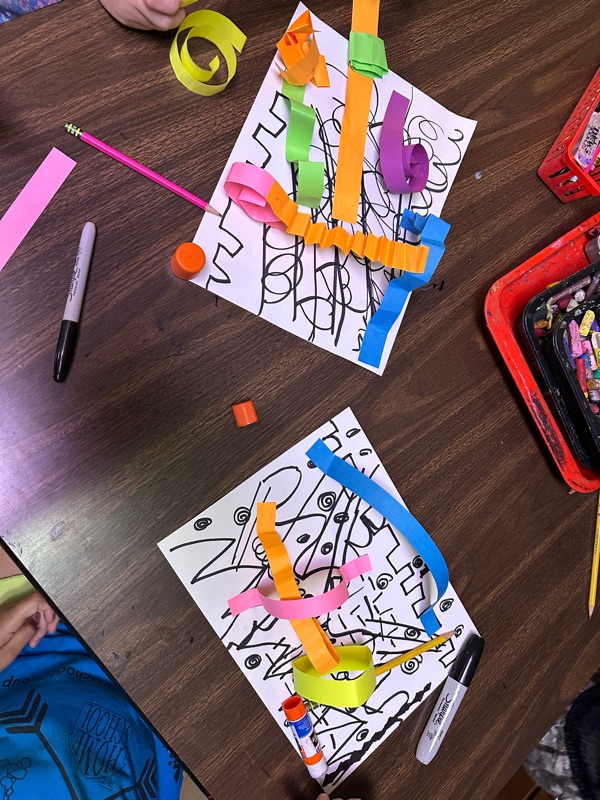
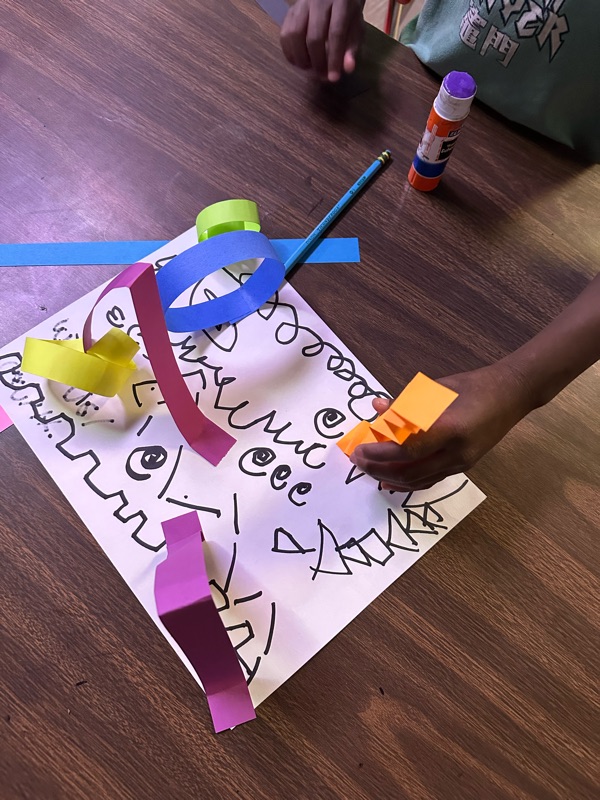
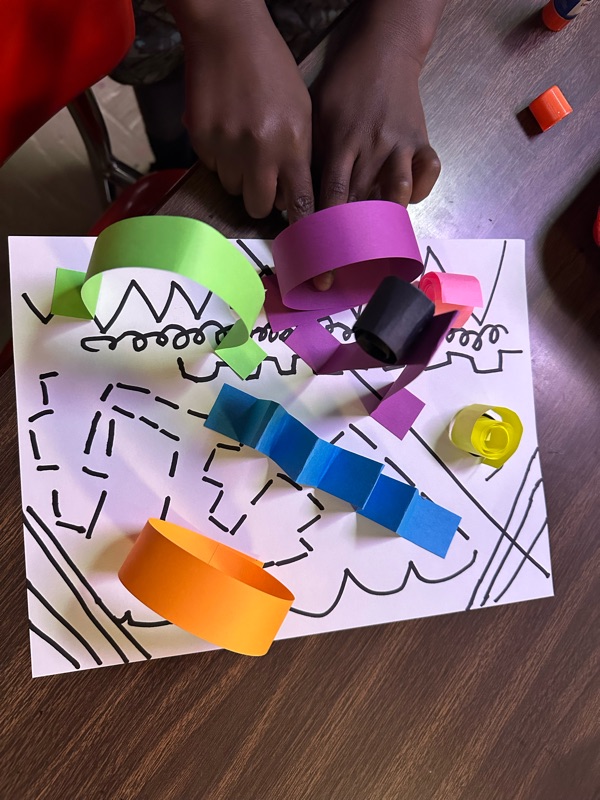
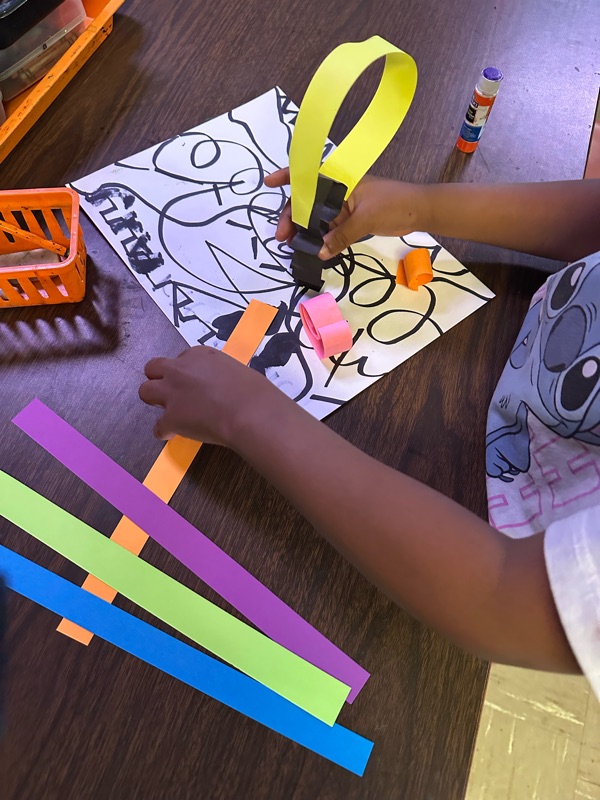
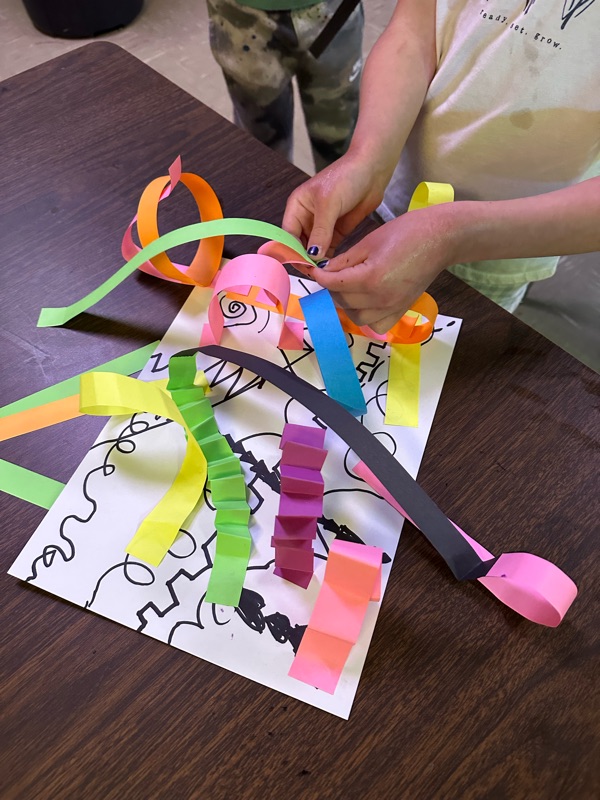
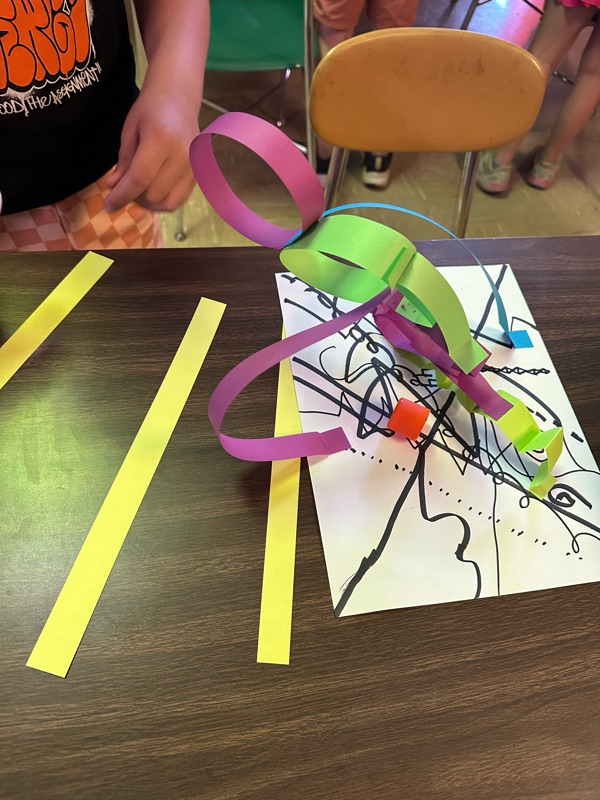
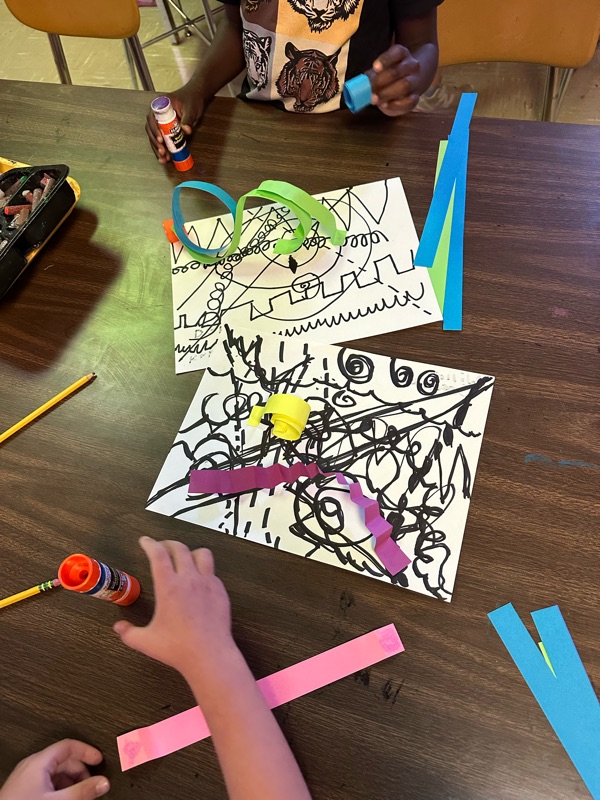
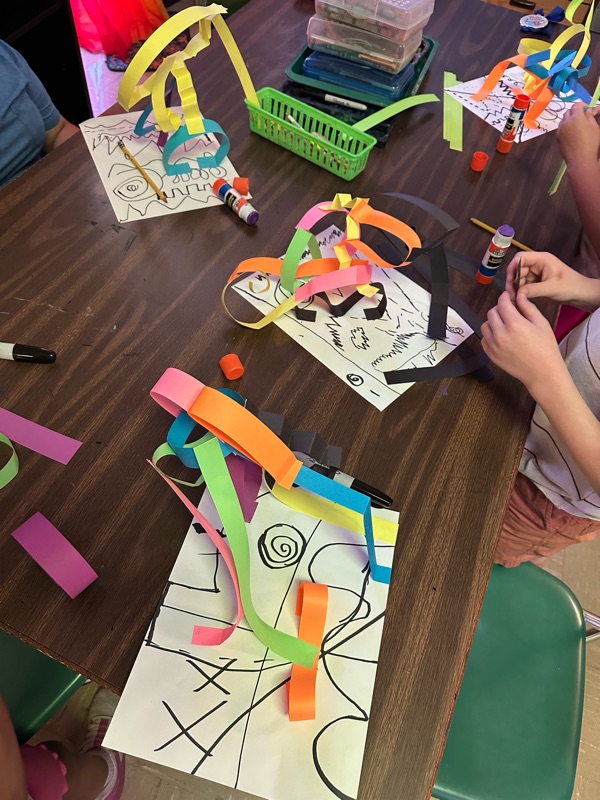
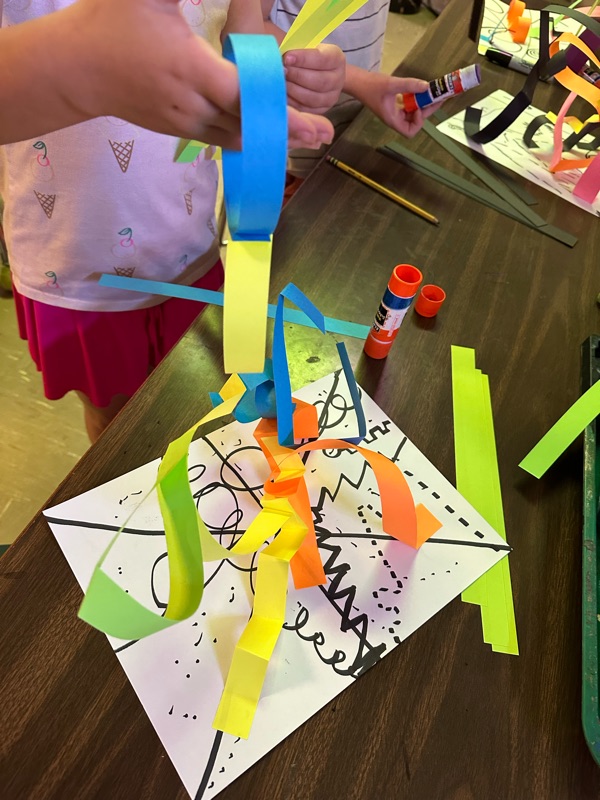
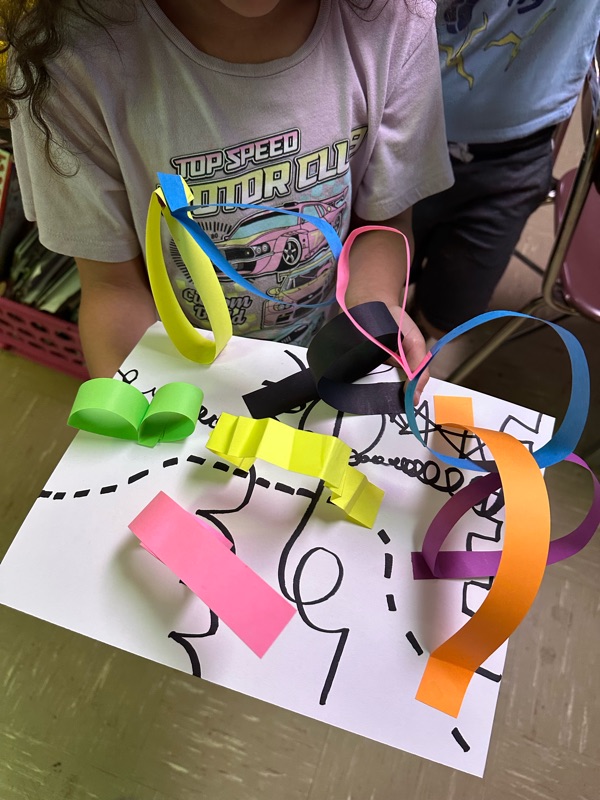
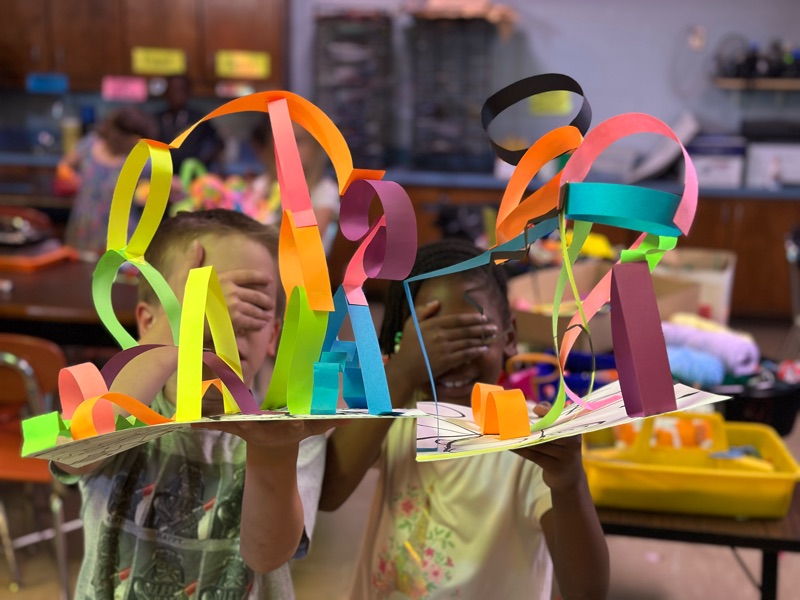
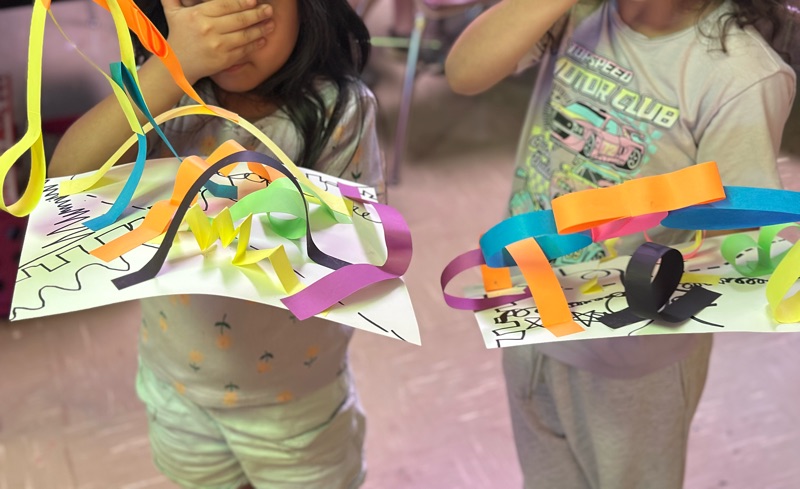
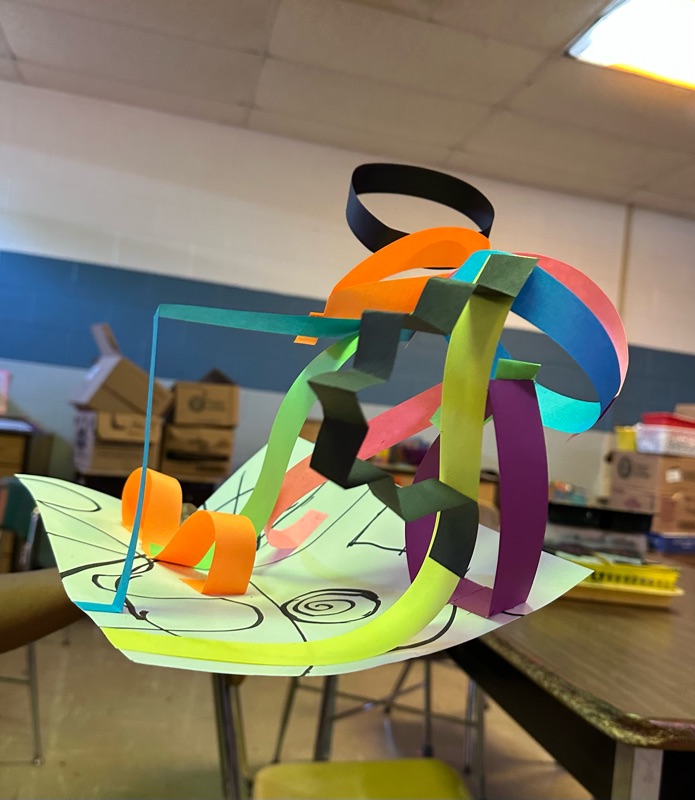
Powered By Blogger

Monday, April 13, 2026

Cute Crayons by Kindergarten

It's state standardized testing week y'all! That means altered schedules and shortened classes for the whole school! yay...Anyway, we're making the best of it and creating some cute crayons this week in Kindergarten. 

Here's what you need

Paint Sticks

Sax 80lb paper

Tru Ray construction paper

scissors

glue

Here's how you do it! 


Here's some more cute examples!

Friday, April 10, 2026

1st grade Rainbow Rockets

Last week, our young artists had a blast creating these rocket-themed masterpieces while exploring line, pattern, and color blending! This project inspired by @Ms.tice_is_nice (Alyssa Tice), combines bold drawing with vibrant color s for a result that really pops.


✏️ What We Learned

Students focused on:

  • Types of lines (zig-zag, curved, spiral, scalloped)
  • Pattern and repetition
  • Warm and cool colors
  • What happens when the colors get wet and blend together

We talked about how lines can show movement and energy, just like a rocket zooming through space!


🎨 Materials

 Step-by-Step Process

Thursday, April 9, 2026

Colorful Kindergarten Rainbows

Last week, Kindergarten was finishing their rainbows, inspired by the art teacher, Hillary Green. 

 (You can find her on Instagram at  @Mrsgreenartbaby.)

Here's how we made our own! 

Materials:

2nd grade Georgia O'Keeffe Flowers


In this lesson, our young artists explored how to turn a simple flower into a bold, eye-catching masterpiece—just like Georgia O'Keeffe! Known for her large-scale flower paintings, O’Keeffe taught us that when we zoom in close, even ordinary things can become extraordinary.

🎨 What We Used

🌸 What We Did


We started by lightly sketching a large flower that fills the entire page. Instead of drawing a tiny flower in the middle, we stretched our petals all the way to the edges—just like O’Keeffe did. This helped make our artwork feel big and bold.

Next, we traced our lines with Sharpie to make the shapes stand out clearly. Then came the fun part—oil pastel blending!

🌈 Blending with Oil Pastels

Students used 3 different colors to fill in their petals. They were to choose a dark, medium, and a light color to blend together! 

For the background, they can choose whatever color they want, but they need to choose a darker and lighter version of that color. 

We talked about warm and cool colors, analogous colors, and complementary colors.

✨ What We Learned

  • How to zoom in and fill the page with one subject
  • How to blend colors using oil pastels
  • How contrast (warm vs. cool colors) makes art more exciting
  • How artists like Georgia O'Keeffe turn simple ideas into powerful images

💡 Teacher Tip

Encourage students not to rush the blending—this is where the magic happens. The more they layer and smooth colors together, the more vibrant their artwork becomes.


Monday, March 9, 2026

2nd grade Cozy Sweater Bears

This week in the art room 2nd grade created these adorable Bears in Sweaters, from PrimaryPicassos on Instagram, and the students absolutely loved it! This project was a great way to combine drawing, pattern design, and watercolor painting while practicing careful craftsmanship.


Step 1: Drawing the Bear- Click here for the drawing tutorial on YouTube

Finger Weaving!


This week in art, our students explored finger weaving—a simple and exciting way to create colorful woven chains using just yarn and their hands! This hands-on activity helps students learn about patterns, coordination, and creativity while having fun with bright colors.

What Is Finger Weaving?

Finger weaving is a basic weaving technique where students use their fingers instead of tools or looms to weave yarn together. By looping and crossing strands of yarn, students can create long, colorful woven chains. Each chain becomes a unique piece of fiber art!

Students chose several colors of yarn and worked step-by-step to weave them together. As they practiced the pattern, they discovered how different color combinations created beautiful designs.

Materials:

Skills We Practiced

While working on this project, students developed several important skills:

  • Fine motor skills through manipulating the yarn

  • Pattern recognition as they repeated the weaving sequence

  • Color planning by choosing yarn combinations

  • Patience and focus while building long woven chains

Many students were excited to see how long their woven chains could grow!

Watch the Instructions

If you'd like to try finger weaving at home, you can follow the same steps we used in class. Watch the video below for a demonstration of the weaving process:

Weaving on a cardboard loom!


This week, 5th graders are exploring the world of fiber art by learning how to weave on a cardboard loom! This project introduces students to one of the oldest art techniques in the world while helping them practice patience, creativity, and craftsmanship.

What Is a Loom?

A loom is a tool used to hold yarn or thread in place while another piece of yarn is woven through it. For this project, students created their own simple looms using 6" × 13.5" pieces of cardboard. Small notches along the edges hold the vertical yarn strands, called the warp.

Once the warp yarn is in place, students begin weaving a second strand of yarn, called the weft, back and forth across the loom.

How Students Are Weaving

Students are creating their weaving on one side of the cardboard loom. They weave the yarn over and under the warp strings, switching the pattern on each row. As they continue this pattern, the yarn begins to build into a colorful woven design.

Students can:

  • Choose different yarn colors

  • Create patterns or stripes

  • Experiment with texture and spacing

Each weaving becomes a unique work of art!

Here's how we made ours! Stay tuned for part II! 

Materials needed:

Skills We’re Practicing

This project helps students develop several important artistic and learning skills:

  • Fine motor skills through careful weaving

  • Pattern recognition with the over–under sequence

  • Creative decision making when choosing colors and designs

  • Patience and focus as the weaving slowly grows

Weaving is a process that takes time, but students love watching their artwork grow row by row.

A Tradition of Fiber Art

Weaving has been used by cultures around the world for thousands of years to create textiles, clothing, and decorative art. By learning this technique, students are connecting to a long tradition of artists who work with fiber.

We are excited to see the beautiful patterns and colorful designs our young artists create!


Ask your student about the colors they chose and the patterns they are weaving into their artwork!