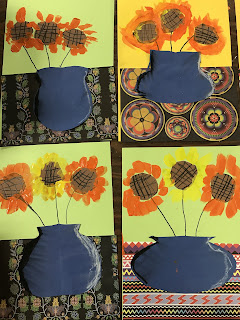
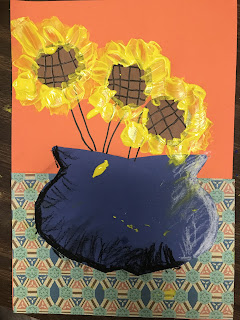
I don't know about y'all, but here we are so over snow (we're out of snow days!) and already thinking about spring! So, we're breaking out of our snowy scenes and moving on to bright and pretty things! Here's how we're going to make our vases of flowers, inspired by the fabulous teacher Abby Shukei. You can visit her art blog here!
Materials:
pencils
Day 1: Pass out background paper and vase paper, scissors, glue, pencils, and Sharpies. First, we'll create our background by gluing the patterned paper to the bottom. Then, we'll fold our vase papers, draw half a vase with me. We'll push those aside for a moment, trace our three brown circles, and draw our crisscross lines on them. When those are complete, we'll cut out our vase and circles, and glue them to our background.
They can add black pastel for shadows, and white pastel for highlights. We'll probably to the shadows last, so their papers don't get all smudgy from the oil pastels! After, the circles are glued on, they're ready to paint!


No comments:
Post a Comment